
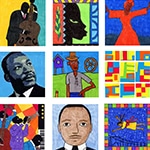

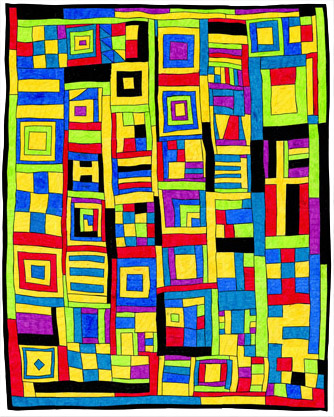
This Black History Month art project was inspired by the women of Gee’s Bend, who live in a small and remote black community in Alabama. When the women of this small town began quilting in the 19th century, it arose only from a physical need for warmth. However, over the years they have been credited for actually reinvented of the art form by making hundreds of quilts considered by many to be masterpieces. Quilts from Gee’s Bend have been exhibited at the Museum of Fine Arts, Houston, the Philadelphia Museum of Art, the Whitney Museum of American Art, and others. In 2006, the U.S. Postal Service even issued ten commemorative stamps featuring images of Gee’s Bend quilts.
Quilters from Gee’s Bend start by painstakingly taking apart old clothes by hand so as to use the ENTIRE piece of fabric. To be clear, they didn’t use MOST of it to make something new, they used ALL of it. You can pass on this message to your students by requiring them to use ALL of their paper used to make this collage.
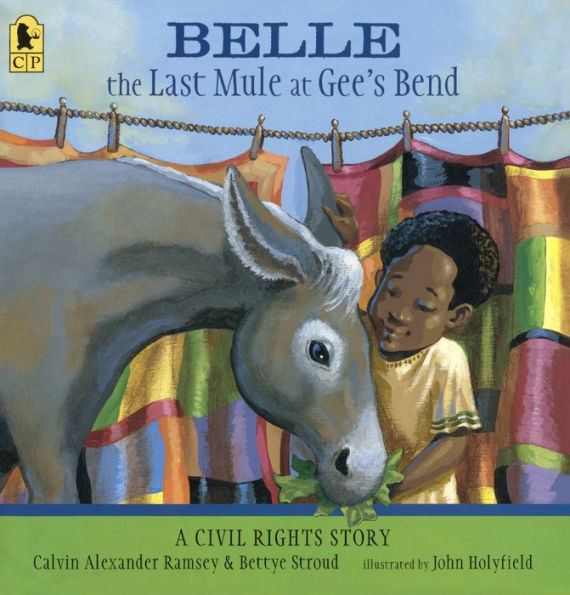
This community also has a pretty fascinating connection to Dr. Martin Luther King. You can read the book “Belle, the Last Mule at Gee’s Bend” to find out more. I had no idea this town played they a key role in the civil rights movement too. Amazing people.
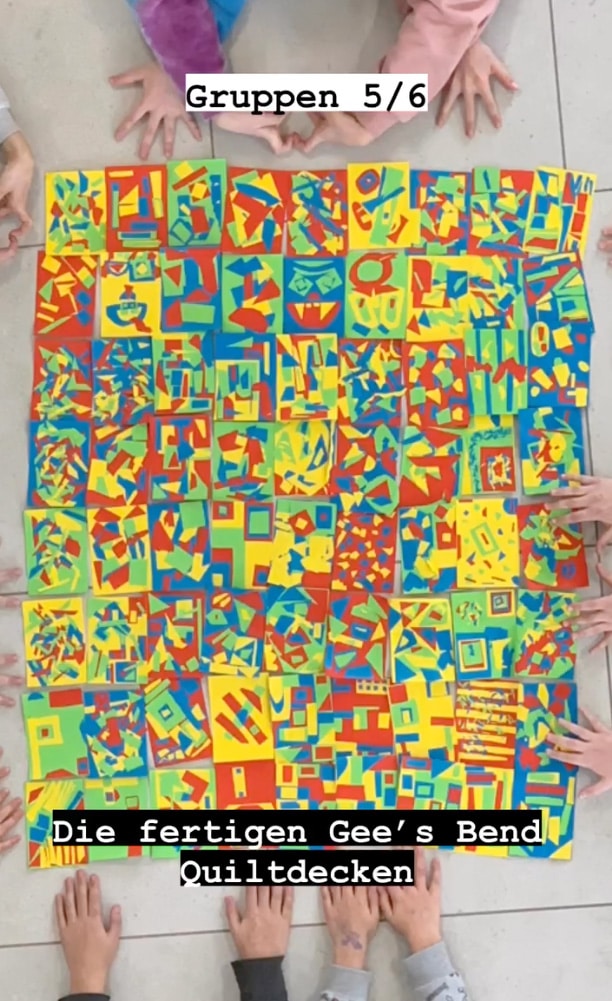
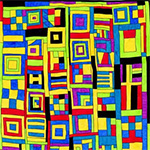
This comes from a video that a teacher made with her students in Germany. It looks like they went with a more free form approach, which is fun for older students who are often able to add more details. The overhead shot shows students arranging all their own rectangles to look like one BIG quilt, which was saved in this beautiful digital way. You can see the example HERE. It’s a reminder that sometimes quick video “installations” of art can be as charming as something that is physically put together too!
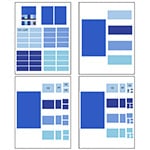
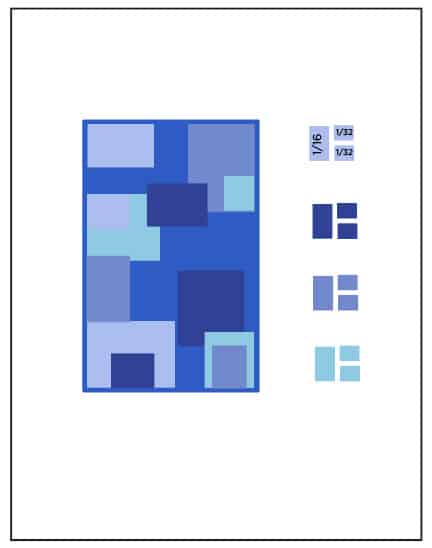
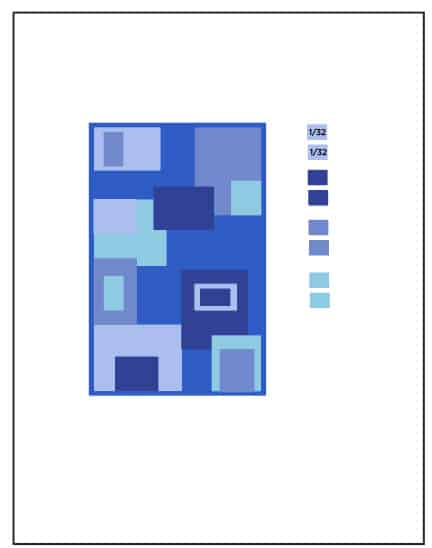
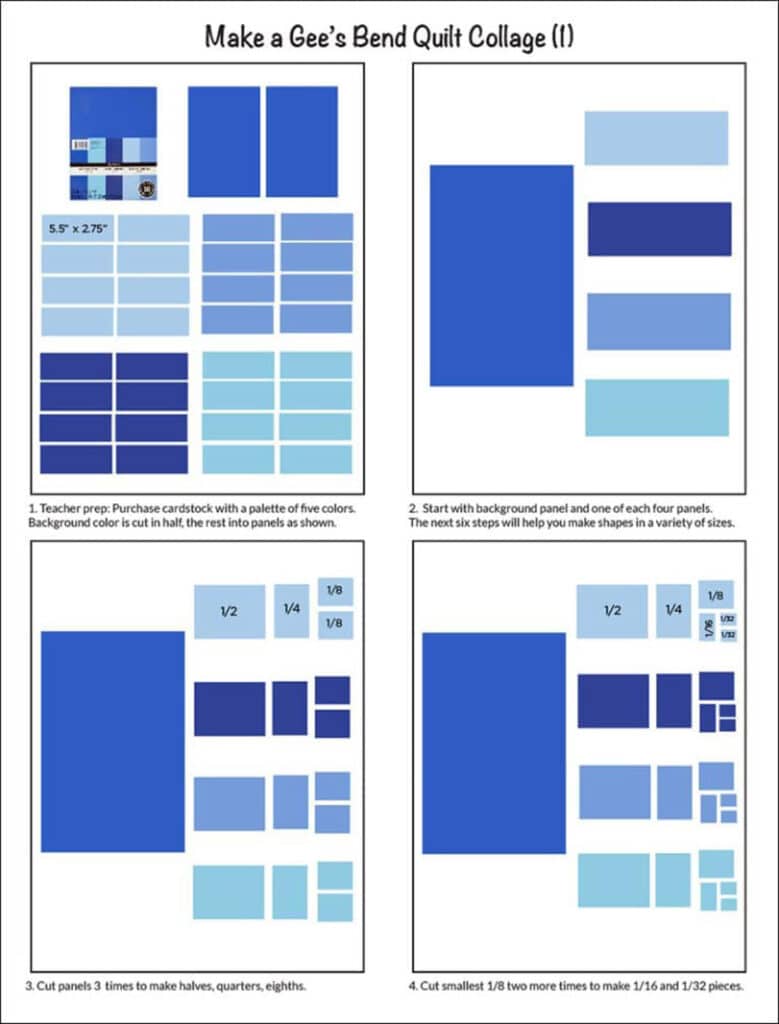 step by step tutorial for how to make a Gee" width="779" height="1024" />
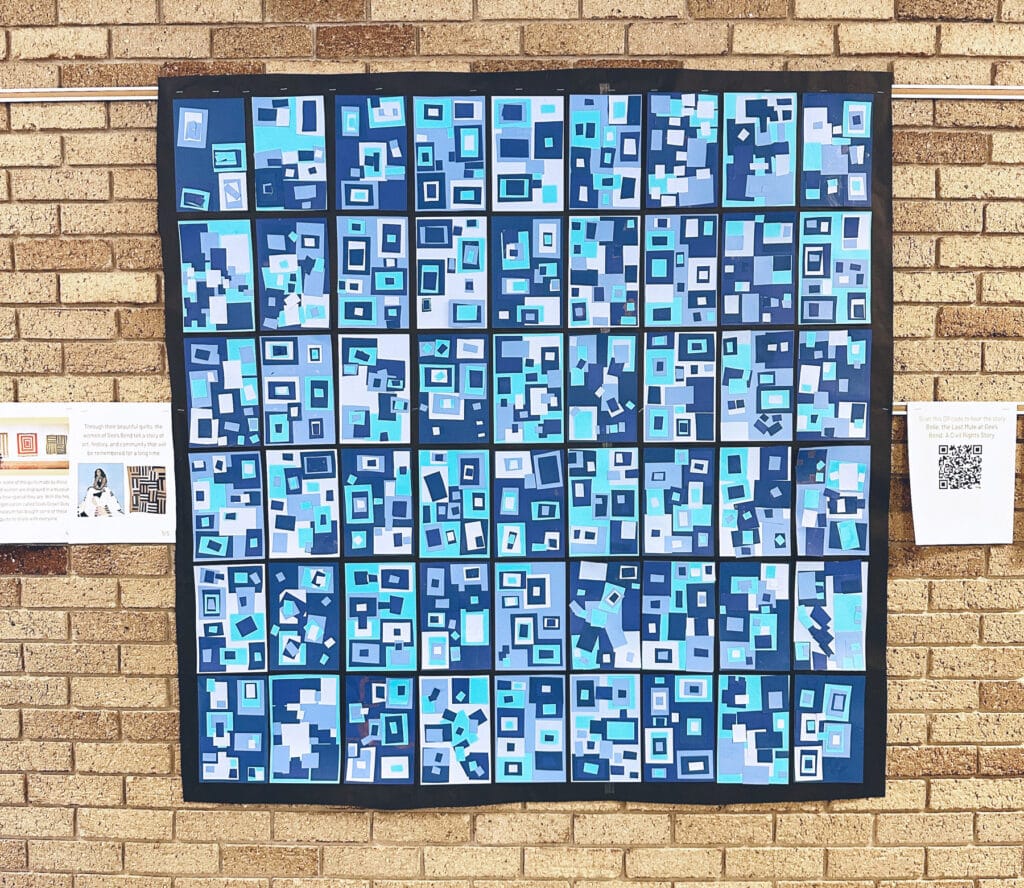
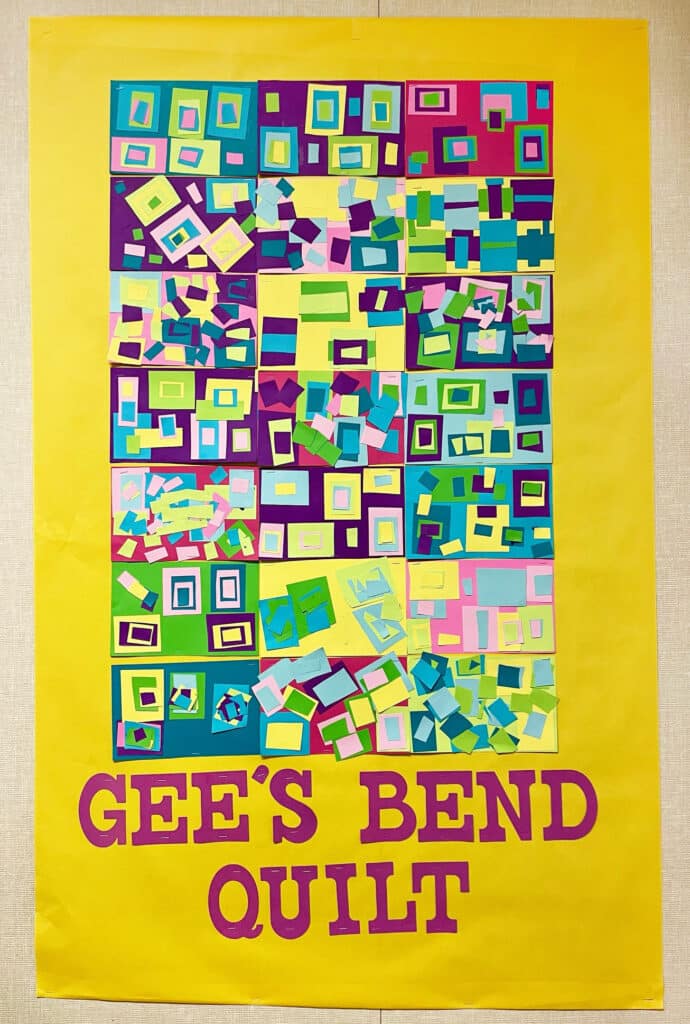
Now it’s easy to make a classroom mural to celebrate the creative work the Gee’s Bend quilters.
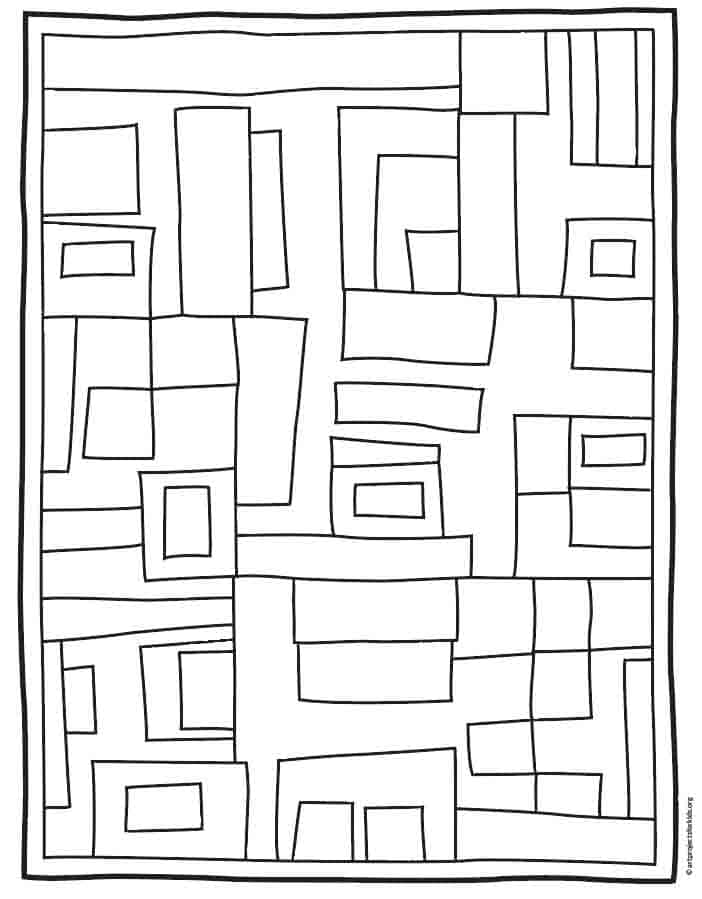
All you need to do is purchase a Gee’s Bend Quilt template from my PDF Shop, have each student color a page, and then tape or glue it back together according to included directions.
It makes a special work of art for your classroom, and because everyone takes part, a collaborative experience as well.
Time needed: 1 hour
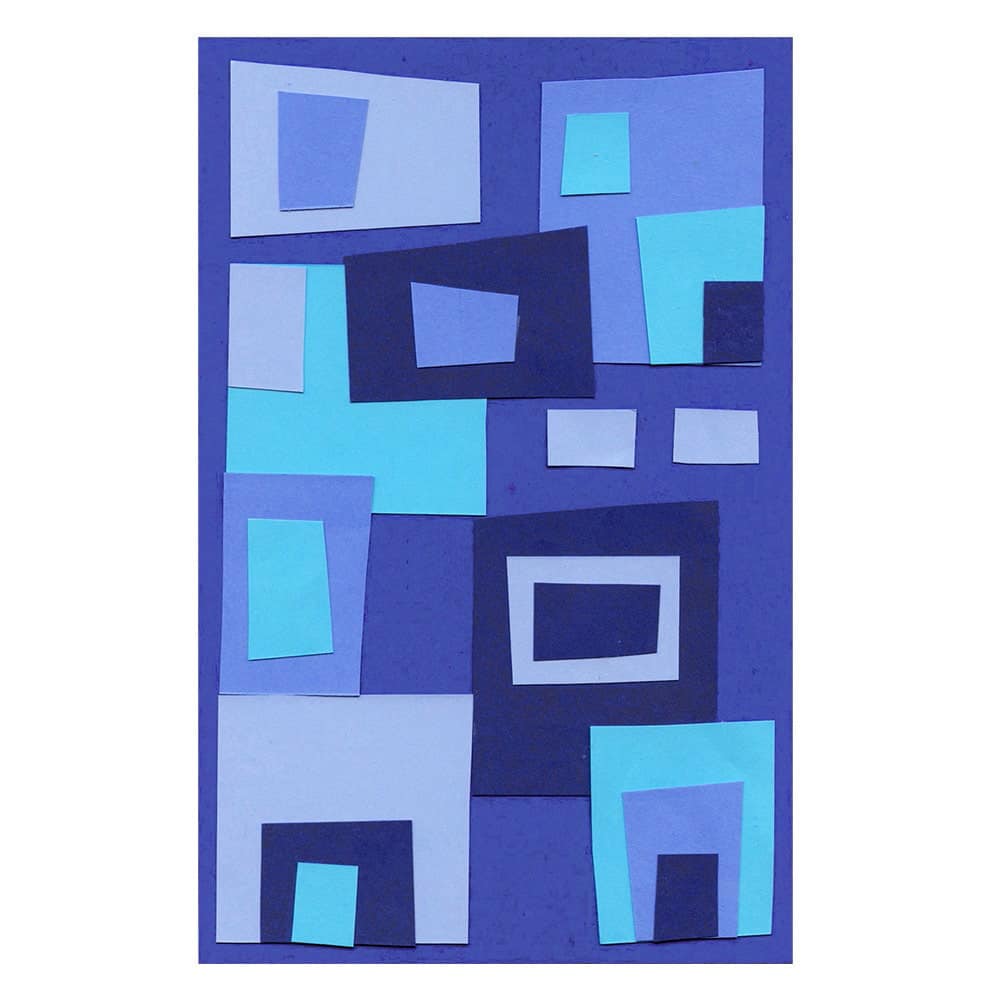
Gee’s Bend Collage


Already subscribed to “The Daily Draw”?
Great, then use the button below to get your free Gee’s Bend tutorial.
And thanks for wanting to bring more step-by-step, no-prep art lessons to your classroom!
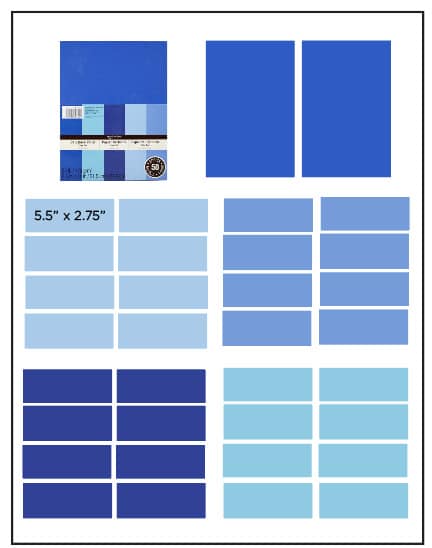
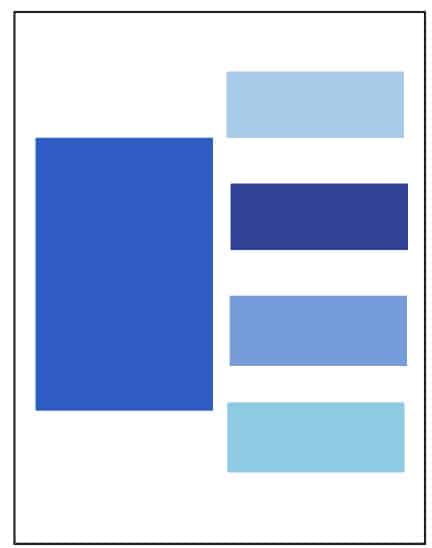
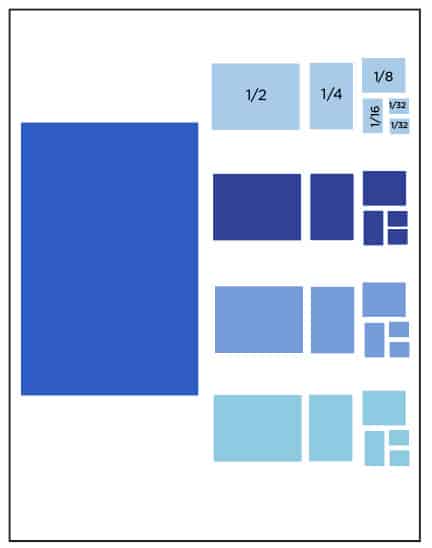
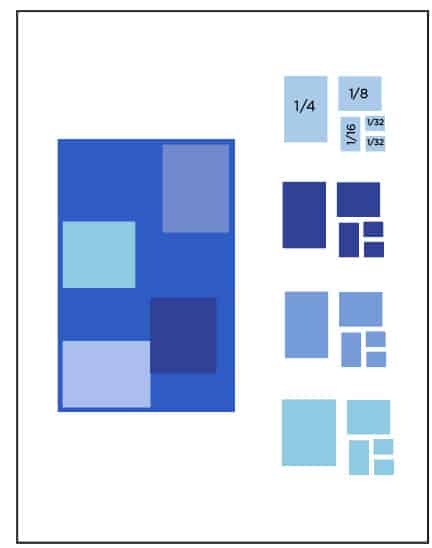
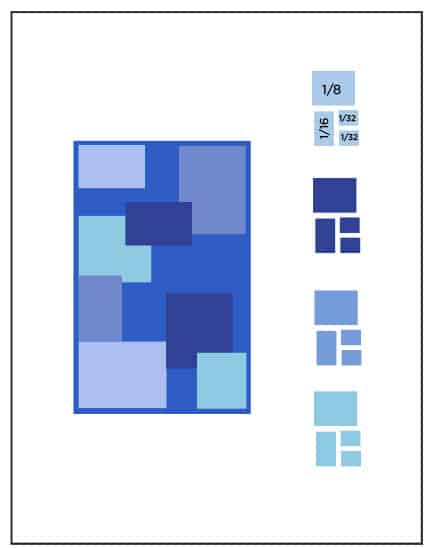
• Place four background cards on the table and four remaining cards are cut up into strips and squares, etc. Glue to the backgrounds in any arrangement desired. Important: Students must use ALL of their cut up paper. Layers are fine, it just needs to be all used up, just like the Gee’s Bend women did with their clothes.
• Slide each card into a penny sleeve. This will help smooth out all the pieces and add a look of lamination.
• The cards are taped together on the back side with clear scotch tape.
• Each student can keep their own quilt, or the entire class could put theirs together to make a collaborative piece.